Lessons in bee photography by Nicole Young
One of my favorite subjects to photograph in the spring and summertime is bees on flowers. It’s fun watching the little worker bees buzz around, collecting pollen. They have a lot of character and make great photographic subjects. In this article, I put together some tips and techniques I’ve discovered over the years to help you get the best bee photos possible.
CAMERA GEAR
When it comes to getting a great close-up of a bee, you’ll want to have macro capability on your camera. This could either be the lens you use with an interchangeable macro lens, or a camera with a macro function on it.
I use FUJINON lenses with my FUJIFILM X-T3, and currently have two macro lenses that I use: a 60mm macro, and an 80mm macro. The 60mm macro is only a 2:1 macro lens, whereas the 80mm is a 1:1 (true) macro lens. This basically means that the 80mm lens can focus a lot closer than the 60mm lens can. If you are serious about macro photography, I suggest investing in a true 1:1 macro lens to get the best quality images out of your gear.
However, with that said, because FUJIFILM cameras are crop-frame cameras, using the 60mm still gives me incredible close-up images. The frame itself is already cropped in due to the nature of the type of camera it is, so having a 2:1 crop ratio does not severely impact my photos. If you use a full-frame camera, however, you will see a greater difference in focusing distance than you would with a crop-frame camera, so the capability of the macro lens will be more apparent.
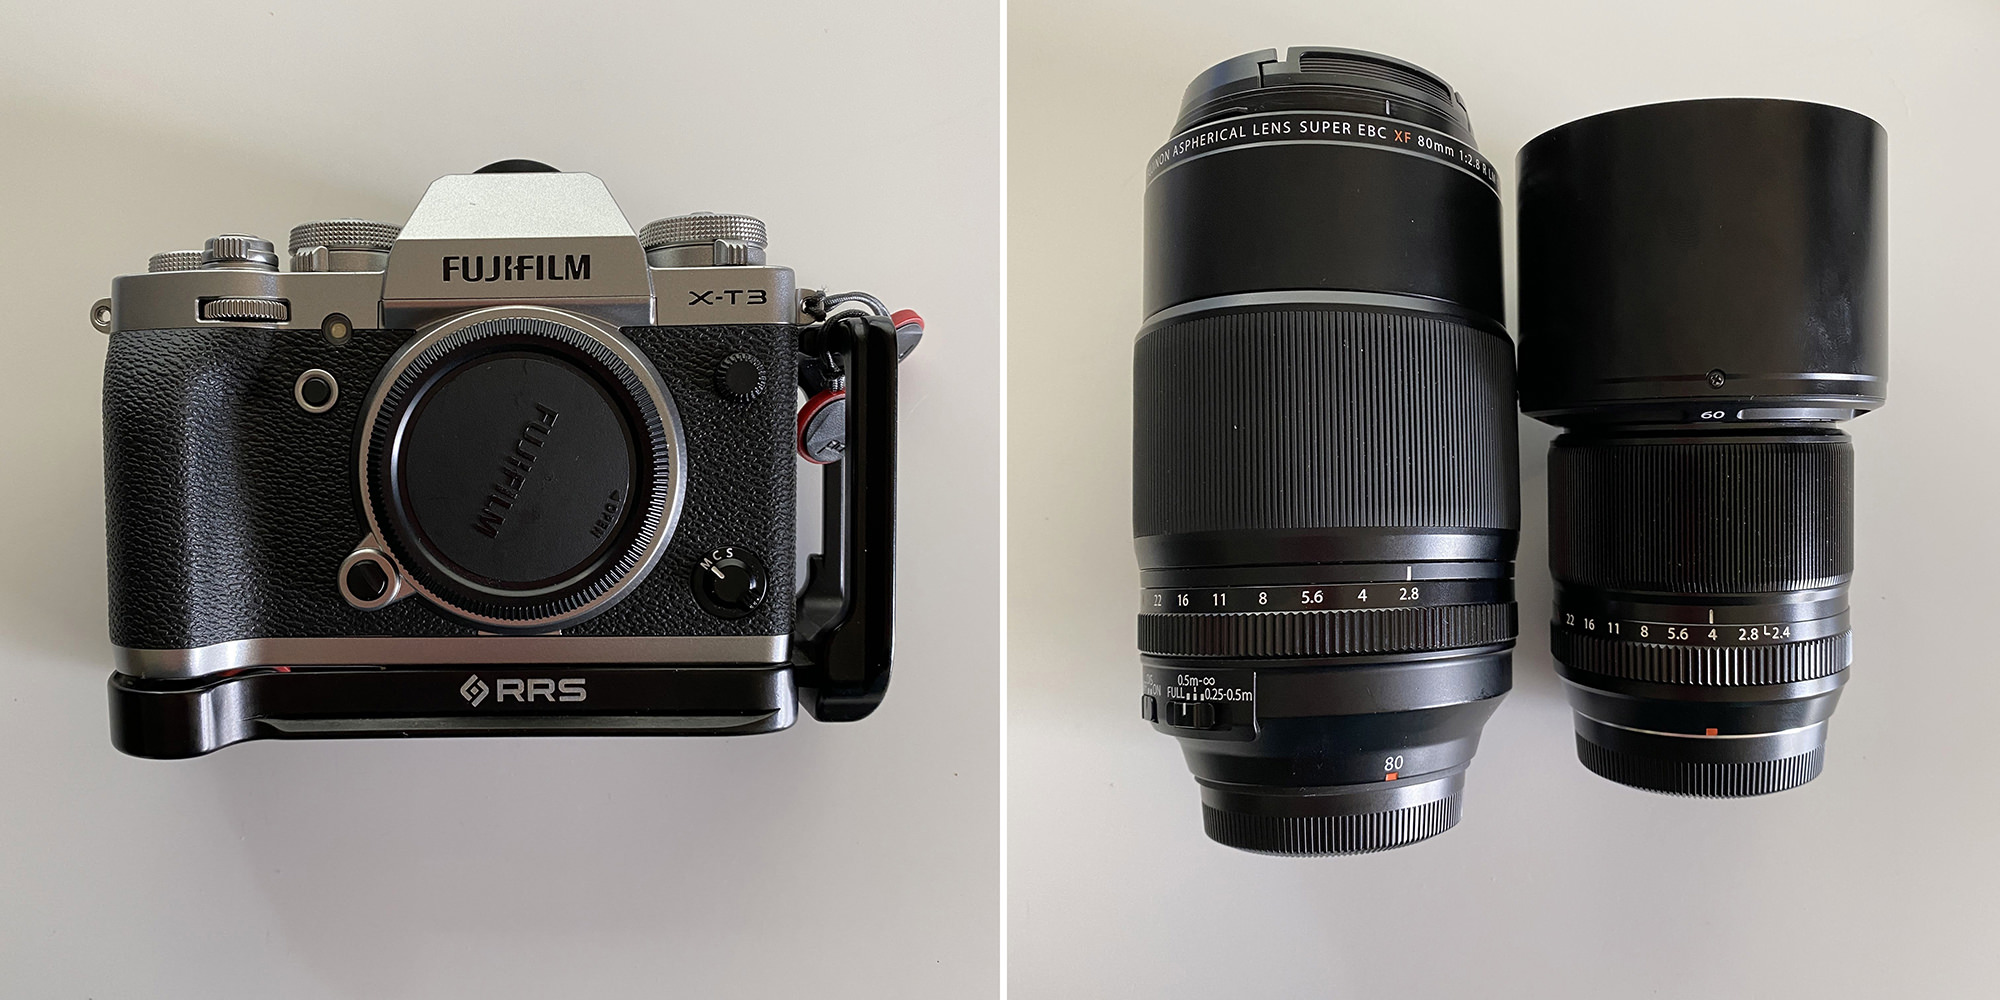
I use a FUJIFILM X-T3 and either the 80mm or 60mm macro lenses for my bee photography.
LIGHTING
Diffused and even light across the bees, flowers, and background will give you the best results. There is still a LOT of light during the day when it is overcast, and sometimes these are the best times to create a bee image. Or, if you are in the shade on a sunny day, that can be even better as you will get a powerful amount of light (yes, even in the shade!). But the quality of the light will wrap around the subject and make everything just look beautiful. If you don’t have natural shade where you want to photograph, you can always add your own. I have a lavender bush in my backyard and have been known to use a diffusion panel to give my scene better light to work with.
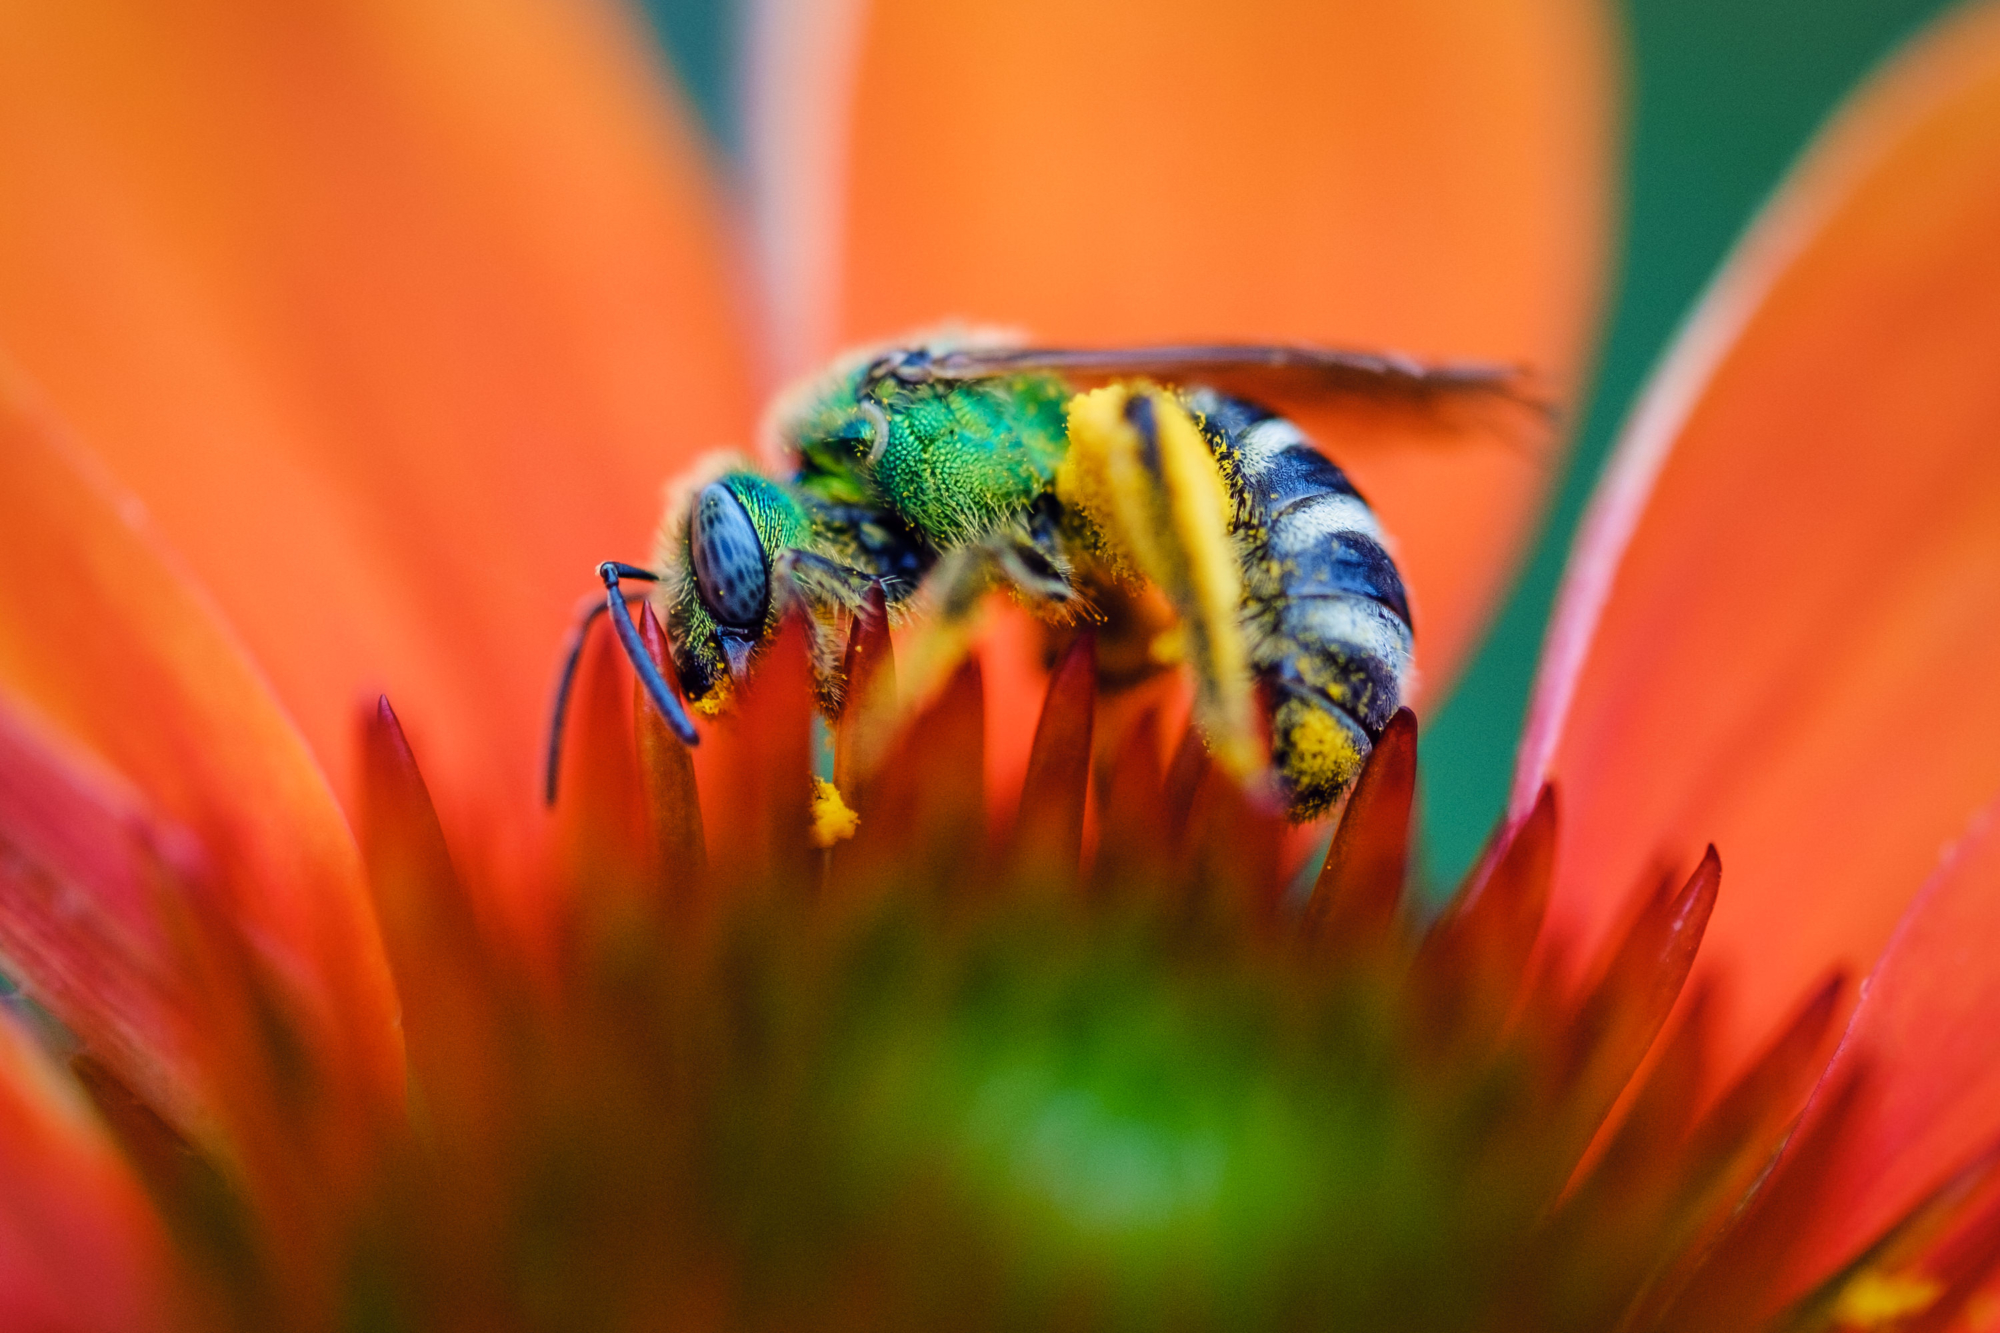
Green sweat bee on a coneflower (diffused light).
FUJIFILM X-T3, 80mm macro lens, 1/1000 sec at ƒ/2.8, ISO 320
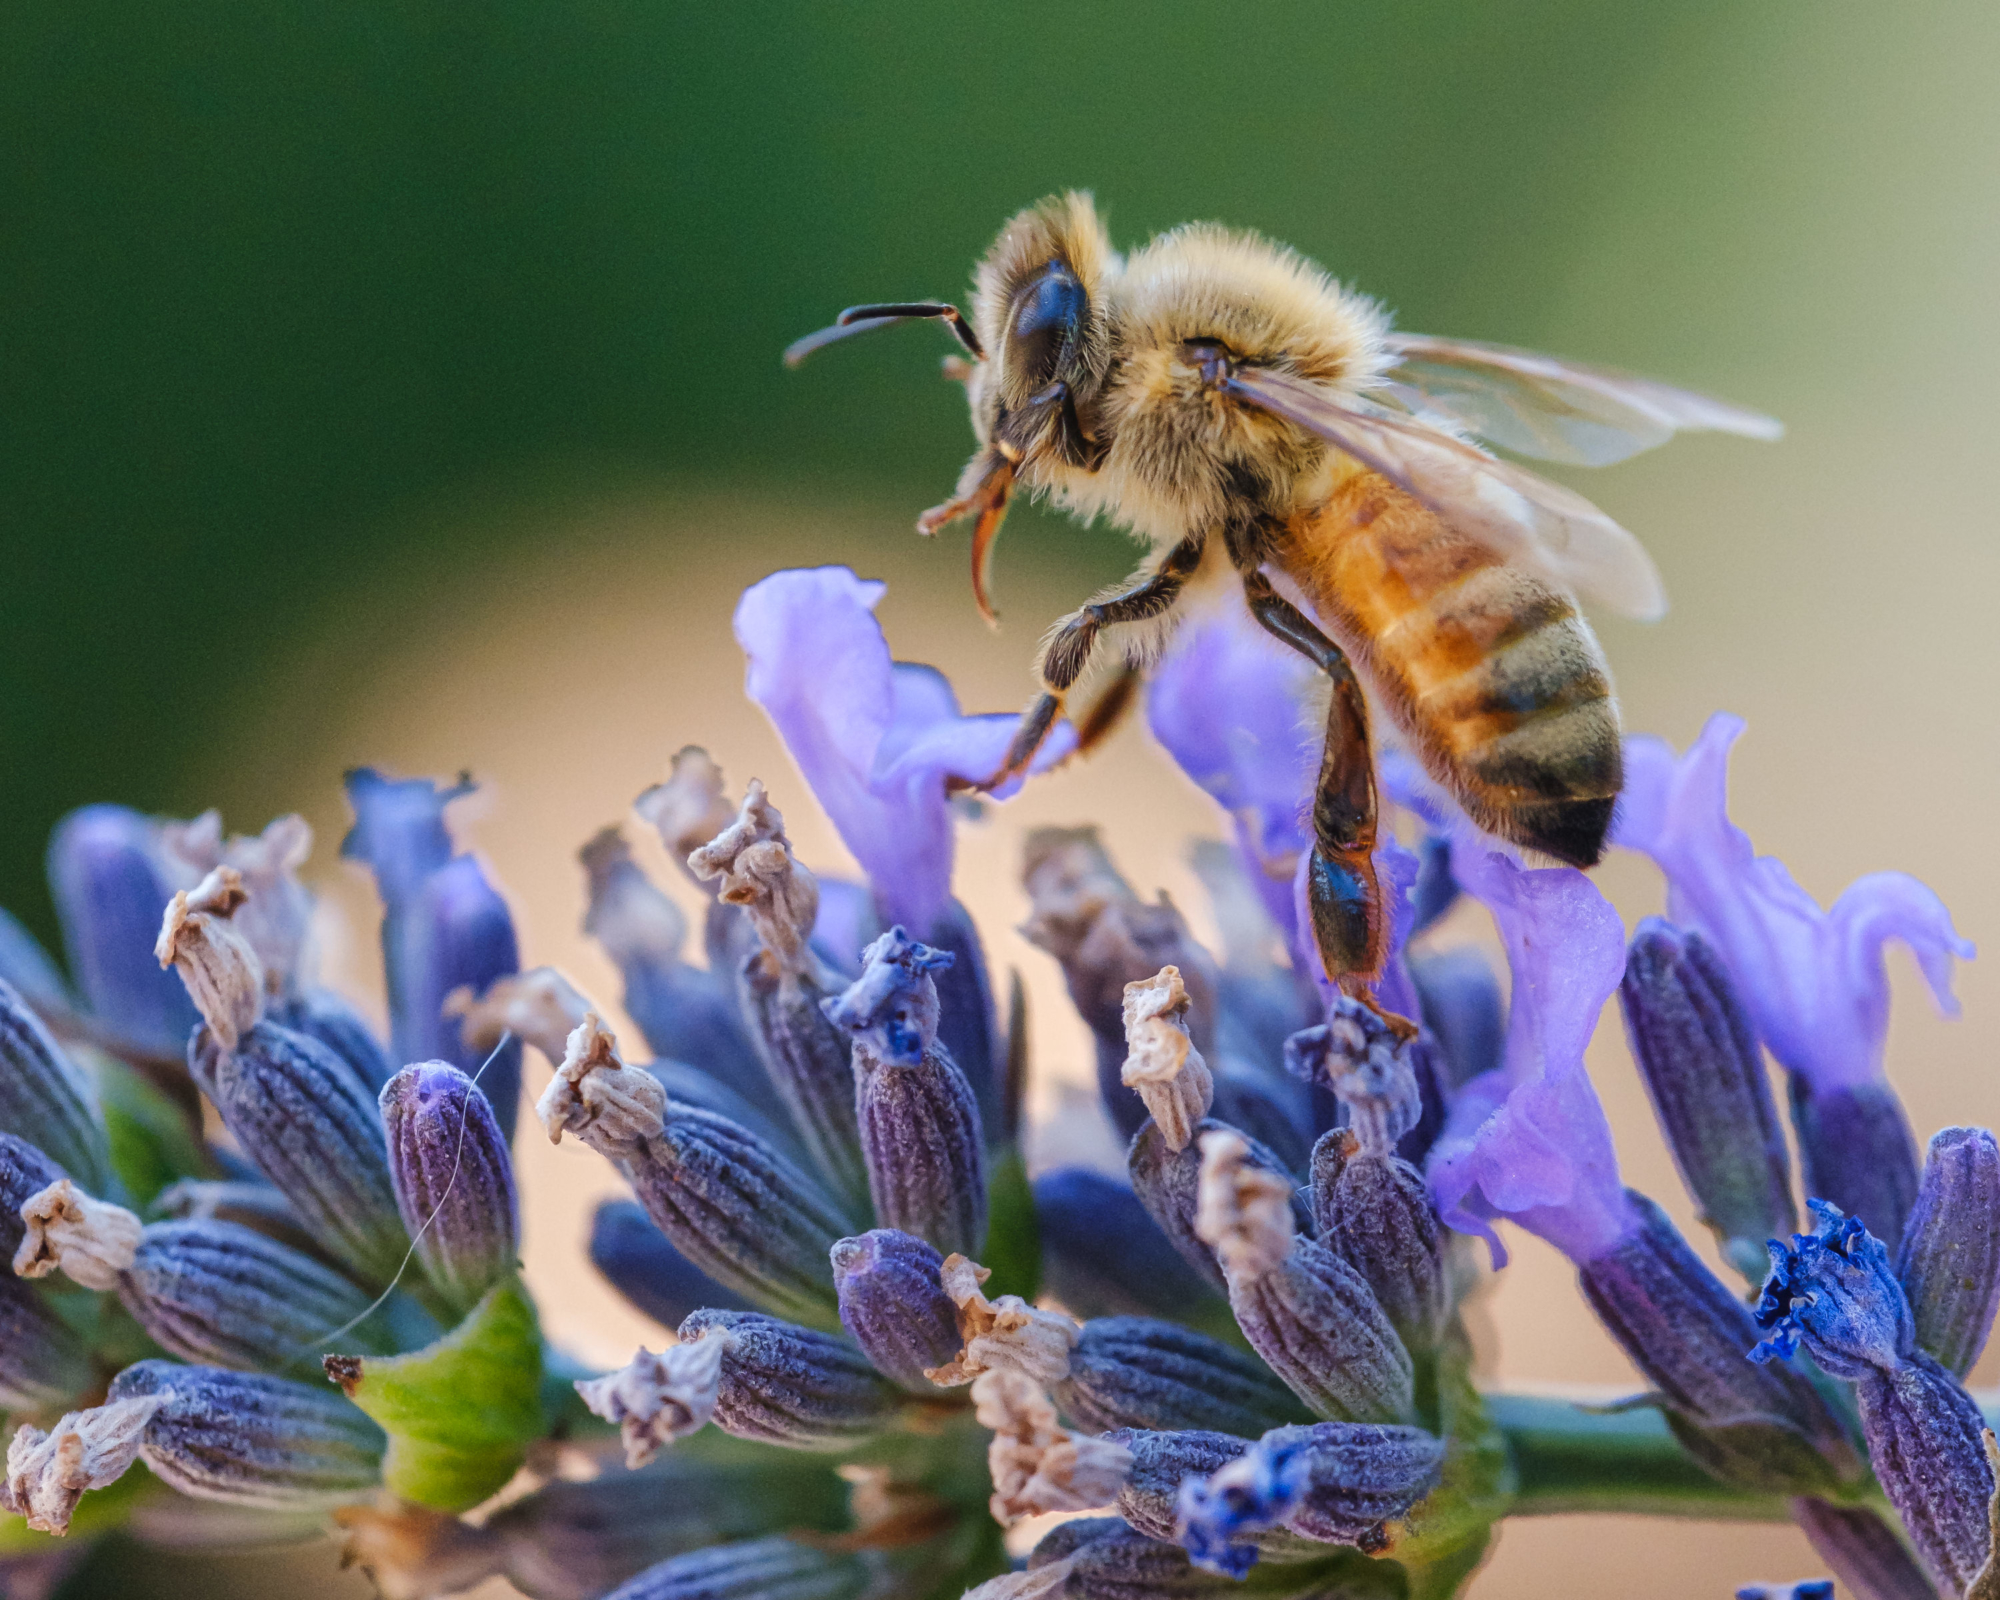
If you have no choice to photograph in the sun, you can still get some amazing images. I was visiting a lavender field this summer, and we have had only sunny days this year, so the “normal” Oregon clouds were nowhere to be found. Instead of positioning myself so that the sun was behind me, which would front-light the bees, I decided to position my camera so that the bees were being back-lit by the sun. This was a great workaround and also gave the bee bodies a gorgeous orange glow, with the sun shining through. It was a bit more challenging to photograph but yielded some great results.

Honey bee backlit by the sun.
FUJIFILM X-T3, 80mm macro lens, 1/2000 sec at ƒ/3.6, ISO 320
COMPOSITION
I’ve found that the best composition for bees is to get them at a side profile view. This angle is much more compelling and shows a lot of detail and the shape of the insects, and it also helps separate out the bee from the rest of the scene. You can also see their eyes more clearly, and oftentimes you can get the face-first in a flower. However, a cute little bee butt is always a classic, so don’t be afraid to go outside the box.

Bee butts can be cute, too!
FUJIFILM X-T3, 80mm macro lens, 1/1000 sec at ƒ/2.8, ISO 160

Honeybee on lavender.
FUJIFILM X-T3, 60mm macro lens, 1/1000 sec at ƒ/2.4, ISO 800
CAMERA SETTINGS
The exact camera settings you use will be dependent on the amount of light you have in your scene, as well as other things, such as how far the background is to your subject, your lens choice, and more. However, there are some guidelines that I follow when setting up for some bee photography.
- Shutter speed: Technically speaking, the shutter speed is the most important setting with this setup. You want to make sure that the shutter speed is fast enough to catch the bee in action, otherwise, you could end up with blur. I usually set mine no less than 1/500 sec, and oftentimes keep it at 1/1000 sec or higher.
- Aperture: If you want to blur your background then set your aperture to a wide setting, such as ƒ/2.8 or so. Keep in mind that the more you blur the background, the greater chance you have of missing focus on your bee, due to the much smaller depth of field area you can focus on.
- ISO: I keep my ISO setting to “auto” most of the time. When it is bright outside I will end up with a lower setting, but as the light fades, the ISO value will go up, adding grain to the image. However, a tack-sharp bee photo with some added grain is much better than an out-of-focus shot with a lower ISO.
If you use a mirrorless camera, another thing to consider is the shutter type. Most cameras default to a mechanical shutter, but with mirrorless, you also have the option of using an electronic shutter. While this does have advantages (higher shutter speed and silent operation being two of the best), it can affect movement, particularly the wings of the bees. This is called a rolling shutter effect, and it makes the wings look bent and warped if you catch the bee in flight.

Using an electronic shutter with this photo warped the bee’s wings, an issue called “rolling shutter”.
FUJIFILM X-T3, 80mm macro lens, 1/2000 sec at ƒ/4, ISO 2000
FOCUSING TIPS
First and foremost, you want to make sure you are focusing on the correct area. Do your best to focus on the eyes to get as much detail as possible. Even with insects, humans will gravitate to looking at the eyes before anything else, so it’s important that the eyes are in focus to prevent adding tension to the frame.
There are also a few different methods I have used for focusing while creating my images to get in-focus photographs:
Autofocus: I’ve had good luck using the autofocus on my Fujifilm X-T3 and 80mm macro lens. Some macro lenses are slower, so they don’t want to catch focus as quickly, but the 80mm lens seems to work well. It also helps when the bees are not moving very fast!
Manual focusing: When auto-focus does not work well, you may want to try the manual-focus method. This method uses a lot of frames but can get you some great images in a difficult environment (or with gear that does not have autofocus on the lens).
- To use this method, first, you want to determine a focusing point that you will pre-set. I will usually frame up a flower, knowing where the bee will be on it, to see how close I want to focus on it in my lens.
- Next, set your camera to a “continuous high” mode. This allows you to press the shutter and create multiple frames at once.
- Now, when a bee lands in an area you can photograph it, move your camera back-and-forth to try and catch the focus on the bee, all while pressing the shutter. You’ll create a lot of throwaways but you are more likely to get one or two in focus with a manually-focused lens.
It’s important to focus on the eyes of the bee when creating your photos.
FUJIFILM X-T3, 80mm macro lens, 1/1000 sec at ƒ/5.6, ISO 5000
data:image/svg+xml,%3Csvg%20xmlns%3D%27http%3A%2F%2Fwww.w3.org%2F2000%2Fsvg%27%20width%3D%271920%27%20height%3D%271080%27%20viewBox%3D%270%200%201920%201080%27%3E%3Crect%20width%3D%271920%27%20height%3D%271080%27%20fill-opacity%3D%220%22%2F%3E%3C%2Fsvg%3E
This video shows how I pre-focus on a spot and move the camera back-and-forth to catch the bee in focus.
This was all done with a single lens reflex camera.
Now we will look at iPhone photography of bees and insects.
7 Tips For Incredible Insect Macro Photography On iPhone
Insect macro photography allows you to capture stunning close-up detail of tiny bugs. But how do you achieve such amazing images with your iPhone? Shooting iPhone macro photos of insects might sound challenging. But it doesn’t have to be. In this tutorial, you’ll discover 7 tips for incredible insect macro photography with your iPhone.
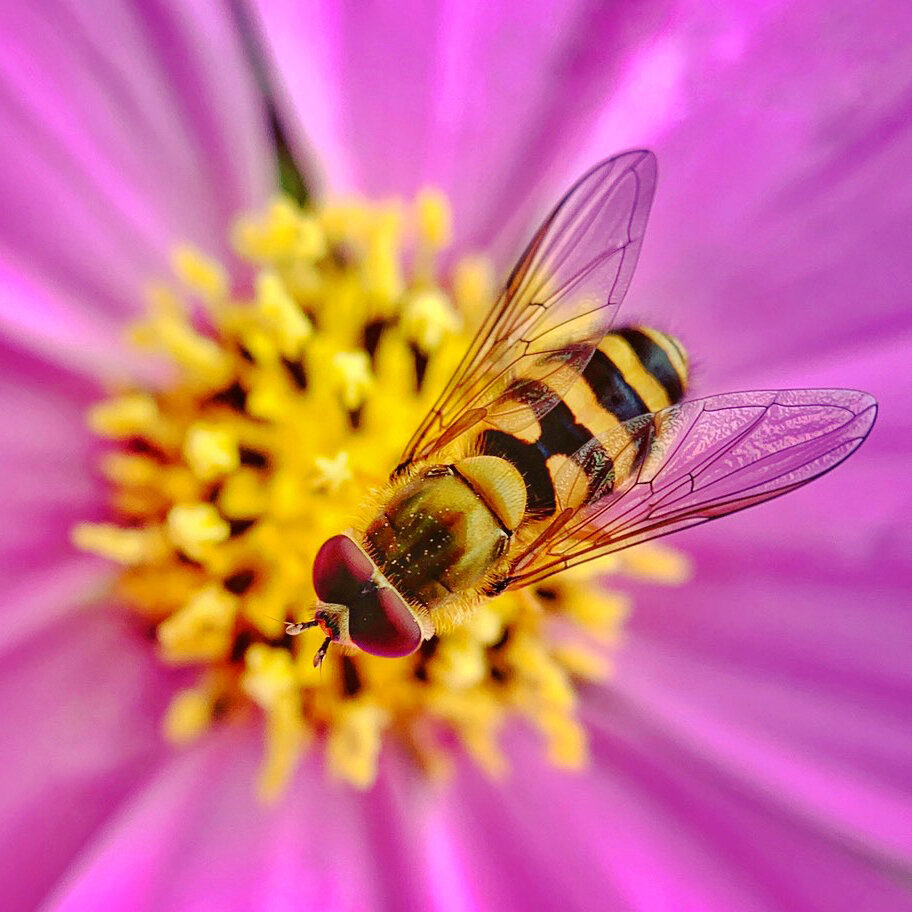
1. Use A Good Quality iPhone Macro Lens
The iPhone’s built-in camera lenses aren’t capable of capturing extreme close-up detail.
So how do shoot close-up macro photos with your iPhone?
You use an add-on macro lens!

There are many iPhone macro lenses on the market. But not all of them produce good quality photos.
If you’re serious about insect macro photography, you’ll need a good quality lens that produces sharp images.
So which is the best iPhone macro lens?
In my experience, you can’t beat the incredible Moment macro lens.

This high-quality lens produces beautifully sharp images. And you don’t get any blurring or distortion around the edges of the photo – which is a common problem with iPhone macro lenses.
The Moment macro lens costs $129.99 – which is more expensive than most other iPhone macro lenses. But the superior image quality is definitely worth it.
To attach the lens to your iPhone, you’ll need the Moment iPhone Case (from $49.99).
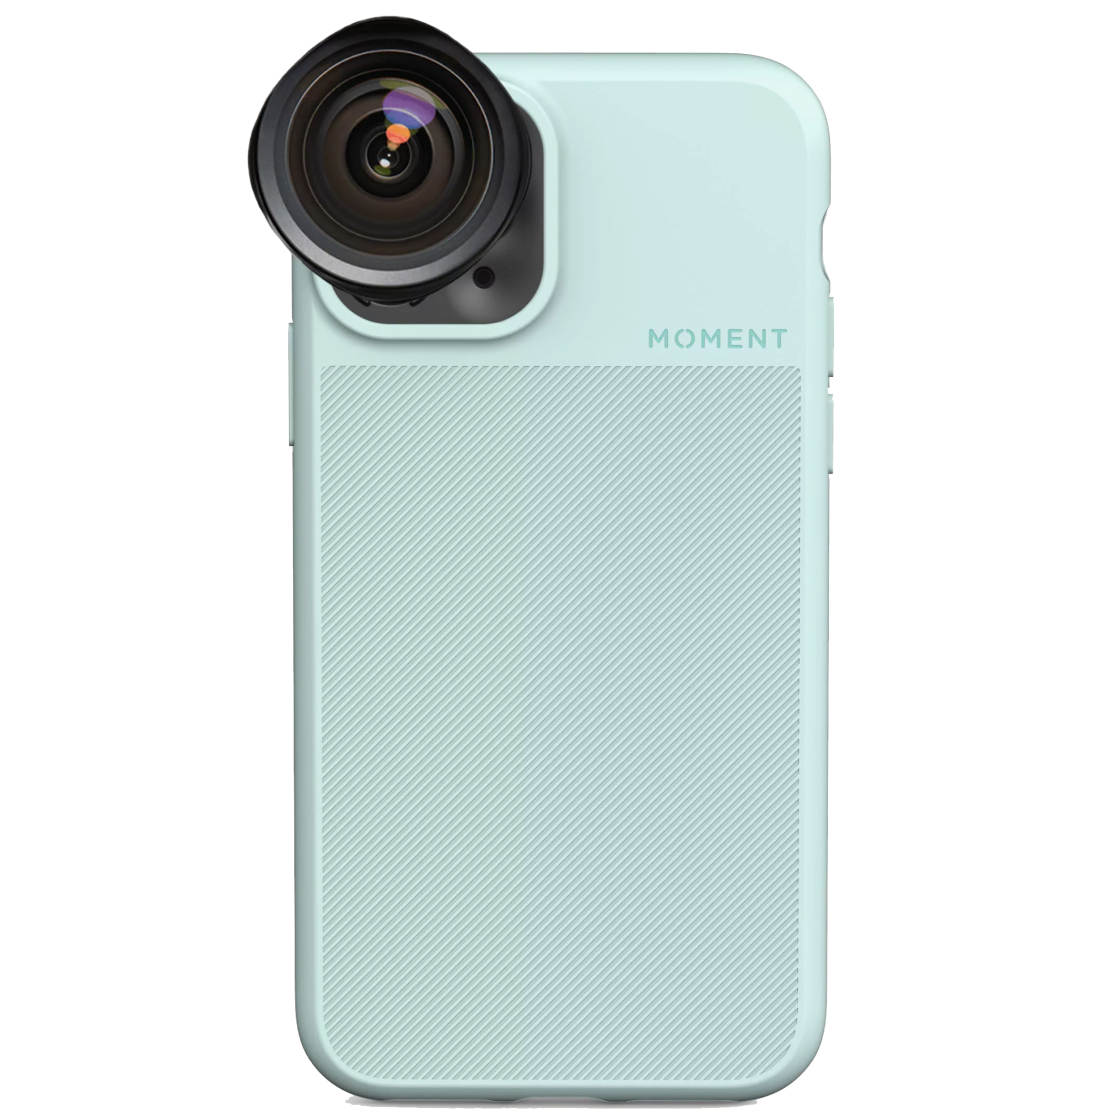
With the Moment case on your phone, you simply attach the macro lens whenever you want to shoot close-up photos.
Once you’ve got your macro lens attached to your iPhone, you’re ready to start shooting.

Read on to discover how to find great subjects for your insect macro photography!
2. Find An Interesting Subject For Your Insect Macro Photography
How do you find interesting insects for your iPhone macro photography?
Here’s the good news:
You don’t need to be in an exotic location to find fascinating insects to photograph.
In fact, an ordinary fly is one of the most amazing subjects for insect macro photography.

Once you get up close, your macro lens will reveal incredible detail that you wouldn’t normally see.
Other great subjects that you’ll find in abundance include:
Bees, ladybirds, spiders, ants, caterpillars, and beetles.

Look for interesting features, such as big eyes, delicate wings, bold patterns, and vivid or metallic colors.

Even the hairs on a fly’s leg, or pollen on a bee, make for eye-catching features in a macro photo.

You really won’t need to go far to find a whole range of insects to photograph.
Just go out into your garden, take a walk along a country lane, or explore your local park.
Get down low and look closely at the flowers and leaves.

Insects love flowers. So summer tends to be the best time of year for insect macro photography.
When the flowers are in full bloom, you’ll find a huge range of species in just a small area.

Once you start looking, you’ll see insects that you never would have noticed before.
And when you photograph them with your macro lens, you’ll capture the tiny, unique features of these incredible insects.

3. Shoot On A Still, Sunny Day
What are the best weather conditions for insect macro photography?
A still, sunny day is perfect!
This kind of weather brings out the insects. And it provides the perfect conditions for capturing great macro photos.

If it’s windy or raining, you won’t find as many insects.
Wind also makes it very difficult to capture sharp shots.
If the flower that your insect is perched on is blowing around in the wind, your photo will be blurred from the movement.
If there is a breeze, try holding the stem of the flower or leaf to keep it perfectly still.

In many photography scenarios, it’s best to avoid bright sunlight. But I find that bright light results in better photos when shooting insect macros.
It seems to illuminate the insect perfectly, bringing out fine detail and texture.

I usually achieve better focus on my subject in bright sunshine than on a cloudy day.
Bright light also allows the iPhone camera to use a fast shutter speed. (Shutter speed refers to the amount of time the camera’s shutter is open).
Fast shutter speeds are perfect for photographing moving subjects.
Why? Because a fast shutter speed freezes movement.

In low light, the camera will use a slower shutter speed. And any movement will appear as motion blur. So you’ll definitely want to avoid this.
When shooting in bright light, you do need to watch out for shadows.
Try to ensure there are no harsh shadows falling directly onto your subject.

Look out for shadows cast by surrounding flowers and leaves. And ensure your body or camera doesn’t cast a shadow on the subject.
Remember, you can use your hand to twist the flower stem towards the light for better illumination.
4. Get The Insect In Sharp Focus
The most challenging part of iPhone macro photography is getting your subject in sharp focus.

Here’s the problem:
When shooting extreme close-ups, the depth of field is very shallow.
Depth of field refers to how much of the image is in sharp focus from front to back.
A shallow depth of field means that only a tiny portion of the image is sharply focused. Anything in front of or behind the focused area will appear blurred.

If you don’t focus on the correct area, you won’t be able to capture the intricate detail of the insect.
So how do you achieve accurate focus in your macro photos?
First, ensure you’re not shooting on a windy day. If the insect is on a flower that’s blowing around, it will be almost impossible to get the subject in focus.
If there is a breeze, hold the flower with your free hand to stop it moving around.
Next, you need to decide which part of the insect you want in sharp focus.

What’s the most interesting feature that you want to emphasize?
Is it the eyes? The wings? The legs? The pollen on a bee?

Now you need to get that area in sharp focus.
The iPhone’s built-in Camera app allows you to quickly set the focus point. Simply tap the area you want in focus. You’ll see a yellow box indicating the focus point.

In most photography scenarios, tapping to set focus works really well. But with insect macro photography, it doesn’t always produce accurate results.
Why? Because you’re working with incredibly small subjects. And those subjects are moving!
It can be difficult to set focus on a very small area with your finger. And even if you do set it accurately, that focus point will be lost if the insect moves.

So here’s the key to getting perfect focus in your iPhone macro photos:
Simply move your iPhone towards and away from your subject until the correct area comes into focus.
Use tiny movements and take lots of shots at slightly different distances. (Later, you can go through your photos to find the ones with the best focus.)
When you take a shot, ensure you press the shutter button gently to avoid moving the camera.

The built-in Camera app is great for insect macro photography as you can open it quickly from the lock screen. (Swipe left on the lock screen to open the camera).
However, you might also want to check out the Halide Camera app.
This app has a “focus peaking” feature which highlights the area that’s in focus.
Simply tap the AF (Autofocus) icon near the bottom of the screen. Then tap the Focus Peaking icon to the left of the focus slider.

The focused area will appear highlighted in green. In the screenshot above, you can see that the insect’s wings and legs are in focus.
Another great feature of the Halide Camera app is that you can shoot in RAW format. RAW images are higher quality than standard JPEG images. And they allow you to bring out more detail in editing.
Whichever camera app you use, remember to take lots of pictures.
The more shots you take, the better chance you’ll have of capturing a perfectly focused macro photo.

5. Compose Your iPhone Macro Photos From Different Perspectives
When shooting macro photos of insects, you’re under pressure to get the insect in sharp focus.
This means you won’t have much time to think about creating the perfect composition.
If you spend too much time deciding how to compose the shot, your subject might fly away before you even press the shutter.

Composition techniques like the rule of thirds and leading lines are great ways to create eye-catching photos. But they’re not the most important elements in insect macro photography.
The intricate detail of your subject is what draws the viewer to the image.

With that in mind, you should definitely consider the best angle to shoot from.
Different perspectives will emphasize different features of an insect.
For example, shooting a fly or bee from above will capture the intricate detail of its wings.

Shooting from above also means you get a great view of the flower or leaf beneath the insect.
A side-on view usually reveals the shape of an insect’s body. You’ll get a better view of the legs and eyes which is perfect for photos of flies.

Shooting an insect from the front often doesn’t produce great results. But a front-on perspective does work well for wider subjects such as spiders.

When shooting front-on, you’ll only get a small part of the insect in sharp focus. So it’s important to set focus on the face of the subject.
You could also consider shooting from behind the insect. This works particularly well for bees, especially if you can shoot from slightly below to reveal the detail in the wings.

Remember, you don’t always need to have the insect looming large in the frame. You can get great results by shooting from slightly further away.

This perspective works particularly well when the insect is on a flower. It allows you to capture the beautiful detail of the flower. And the flower will act as a frame around the insect.
Shooting from further away also adds a sense of scale to your image. In the photo below, notice how tiny the ladybirds look when you see them against the flower.

Of course, once you’ve taken your picture, you can always improve the composition by cropping with a photo editing app.
In the ladybird photo above, I cropped the image to create a central composition. Symmetry works particularly well for close-up flower photos.
You can also crop the image so that the subject is off-centre, aligning with the rule of thirds.

6. Avoid Frightening The Insect Away
With iPhone macro photography, you have to get very close to your subject.
But as you approach an insect to compose your shot, you risk frightening it away.
So how do you avoid disturbing the insect you’re trying to photograph?

Here are my top tips for avoiding frightening the insects away:
Keep very quiet. And use slow, smooth movements.
Avoid approaching the insect from above. It’s better to approach it from beneath a flower or leaf.

When you spot an insect you’d like to photograph, get down low, using the plant as cover.
Then bring your iPhone slowly up to the insect’s level.
Take your shots quickly before the insect flies off.

It’s also a good idea to wait for the insect to start feeding on a flower.
You can capture wonderful photos of bees once they’re busy drinking nectar and collecting pollen.

Insect macro photography is challenging because you’re dealing with fast-moving and unpredictable subjects.
So you need to do everything you can to avoid frightening the insects away.
With these tricks, you’ll have far more chance of capturing amazing macro nature photography.

7. Edit Your iPhone Macro Photos To Bring Out Detail
You’ve taken your shots. How do they look?
Are you disappointed with how they turned out?
Does the insect look too small in the frame? Do the colors look dull? Does the subject lack clarity and sharp detail?
If so, don’t worry! You can dramatically improve your insect macro photos with a few simple photo editing tricks.

I’ll show you how to turn an average photo (like the one above) into a stunning macro shot with amazing color and detail (like the one below).

The free Snapseed app is one of the best iPhone photo editing apps for enhancing your images.
Open your photo in Snapseed, then tap Tools. The Tools menu will appear with a whole range of editing options.

Unless you managed to get really close to the insect while shooting (which is very difficult), you’ll probably want to crop your image.
Cropping allows you to cut away the edges of the photo, giving you a closer view of the subject.
Select the Crop tool. Then drag the corner handles to crop the image. Tap the checkmark when you’re done.

Keep in mind that cropping removes pixels from your photo, making the image smaller. The more you crop, the poorer the image quality will be. So be careful not to crop away too much of the image.
Now it’s time to improve exposure, color, and detail.
I like to use the HDR Scape tool to bring out shadow detail and give the colors a boost. Go to Tools > HDR Scape.

At the bottom of the screen, try out the different presets (Nature, People, etc.) to see what looks best. Then swipe left or right to adjust the strength of the HDR effect.
Be careful not to overdo the HDR effect. Remember, you want to keep the image looking as natural as possible. Subtle edits are the key to a great final result.
You can access more tools for improving color and exposure by going to Tools > Tune Image.
Swipe up or down to choose a tool. (I find that Ambiance works well at bringing out color and detail.) Swipe left or right to make your adjustment.

Another Snapseed tool that’s really great for macro photos is the Selectivetool.
This tool allows you to adjust exposure, color, and sharpness of specific areas of the image. It’s particularly useful for bringing out detail in the insect’s eyes.
Go to Tools > Selective. Tap on the area you want to edit. A small circle with a B (for Brightness) appears. In the example below, you can see that I’ve tapped on the fly’s eye.

Swipe up or down on the screen to choose an adjustment: Brightness, Contrast, Saturation, or Structure.
(Structure is great for bringing out detail in an insect’s eyes.) Swipe right to increase the strength of the adjustment.

If there are small imperfections or unwanted objects in your photo, you can easily remove them in Snapseed. Go to Tools > Healing.
Pinch with two fingers to zoom in on the object you want to remove. Then brush over the object with your finger (the selected area will be highlighted in red). When you release your finger, the object will disappear!

Finally, you might want to sharpen the detail of the entire image. Go to Tools > Details. Swipe up or down and select Sharpening. Then swipe right to increase sharpness.

Note that too much sharpness can reduce image quality and introduce unwanted grain. So only apply sharpening at a low strength.
When you’re happy with your edit, save your image by going to Export > Save A Copy.

As you can see, editing makes a huge difference to your insect macro photos.
In just a few minutes, you can turn an ordinary image into a stunning photo with incredible color and detail.
Just remember the golden rule of photo editing:
Keep your edits subtle.
With careful editing, you’ll reveal the fascinating world of insects in all their glorious detail.

If you would like to receive the monthly newsletter from Beewhisperer360 drop your email address in the comments section.
